Adding Roles to Groups
Complete the following steps to add a role to a selected group.
-
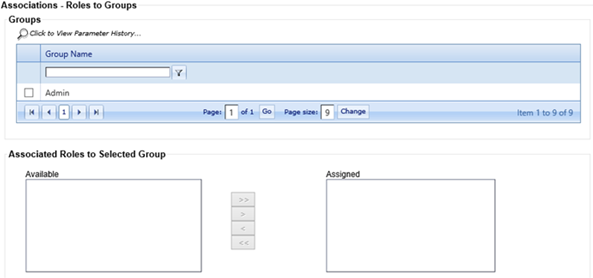
Select .
The Associations - Roles to Groups screen appears.
-
Locate a specific group under the
Group Name
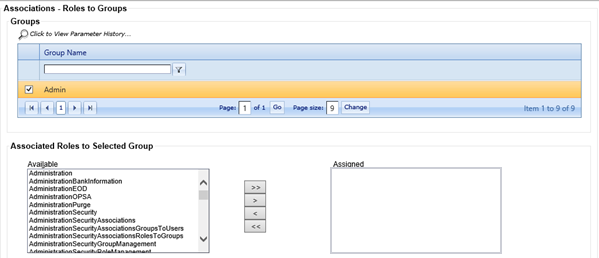
column and select the check box next to the group title.
A list of available roles appears in the Available column of the Associated Roles to Selected Group section.
-
Add a role to a group by highlighting
the role in the Available column and selecting the
 Right arrow.
Tip Move multiple roles by pressing the CTRL key and clicking the individual roles. Use the appropriate arrow key once you have highlighted all roles to be moved.
Right arrow.
Tip Move multiple roles by pressing the CTRL key and clicking the individual roles. Use the appropriate arrow key once you have highlighted all roles to be moved.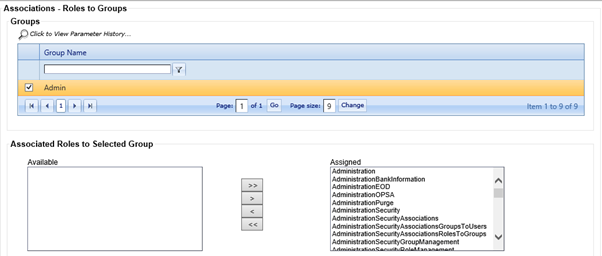
Note There is a hierarchy to roles. For example, to assign the export role to a group, the group needs Loans, LoansLoansInProcess, and LoansLoansInProcessExport roles. Assignment to the roles allows access to the Loan Topic button and the specific navigation branches.Note Move all available roles from the Available column to the Assigned column by selecting the All Right
arrow.
All Right
arrow.