Running a ChexSystems Verification - Business
Complete the following steps to run a business verification when ChexSystems is the selected interface.
-
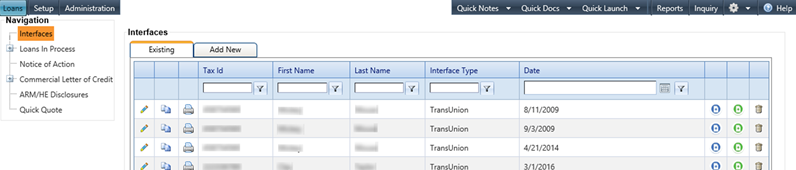
Select the Interfaces node from
the Loans
menu.
The Interfaces screen appears.
-
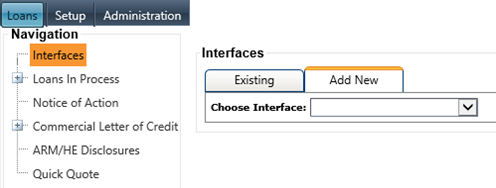
Select the Add
New tab.
The Interfaces screen appears.
-
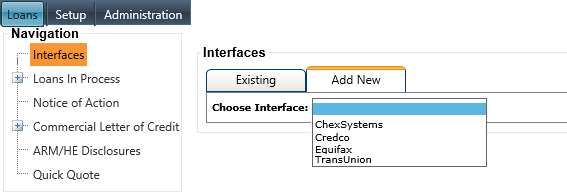
Select ChexSystems from the Choose
Interface drop-down menu.
The Consumer 1 (default) of the five Consumer tabs appears.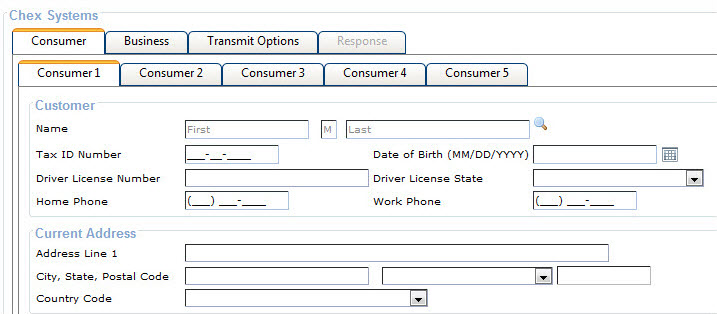
-
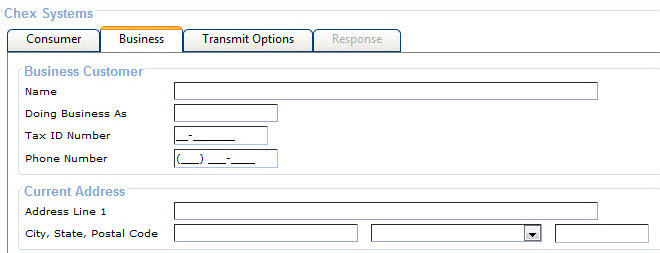
Select the Business tab.,mmmkj
The Business Customer and Current Address sections appear.