Adding Signers to a Business Entity
Complete the following steps to add an individual signer to a business account.
-
Select the
 Edit option to add the entity party to the account.
-
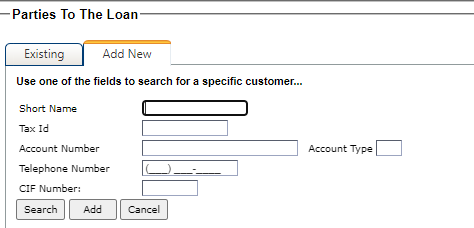
Search for the existing customer using any of the following options:
- Short Name
- Tax ID
- Account Number
- Telephone Number
- CIF Number
-
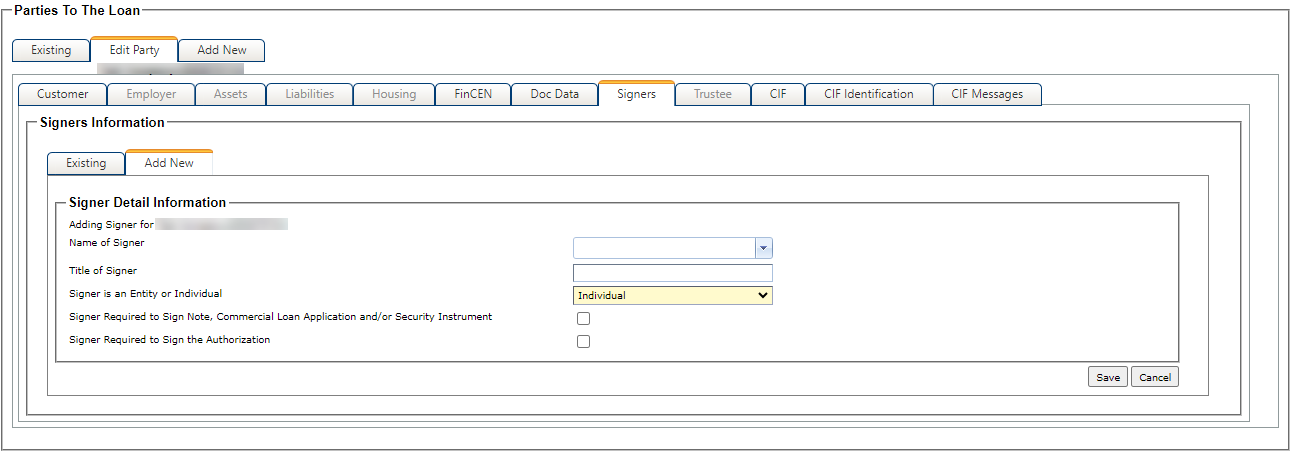
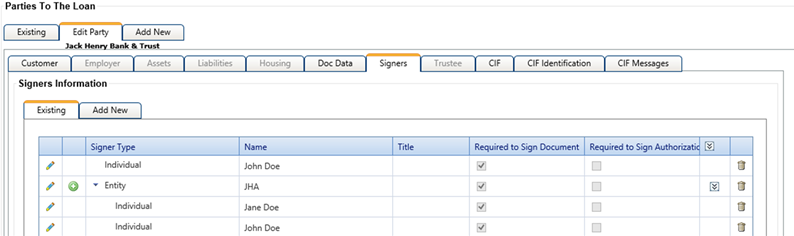
Select the Signers tab.
Note For the Signer tab to be available, the business must be designated as an Entity in the Customer Type field, or the customer must be designated as a Sole Proprietorship, Trust, or LLC when the Customer Type is Individual.The Add New tab opens.
-
Select Cancel to return to the
Existing tab.
-
If an Authorization
Form is required, click
 Assign Authority for
Signer on the Existing tab and select the
appropriate authorities.
Note A warning appears when the authority resolution must be completed if the Allow Warning Message to Alert User That They Have Not Completed All of the Necessary Information to Complete an Authorization Resolution from is selected.
Assign Authority for
Signer on the Existing tab and select the
appropriate authorities.
Note A warning appears when the authority resolution must be completed if the Allow Warning Message to Alert User That They Have Not Completed All of the Necessary Information to Complete an Authorization Resolution from is selected.