You may add a user to an existing account or create a user during the
account creation process.
-
Select .
The
User Management screen
appears.
-
Follow the steps in the table to add a new user.
| Situation |
Steps |
|---|
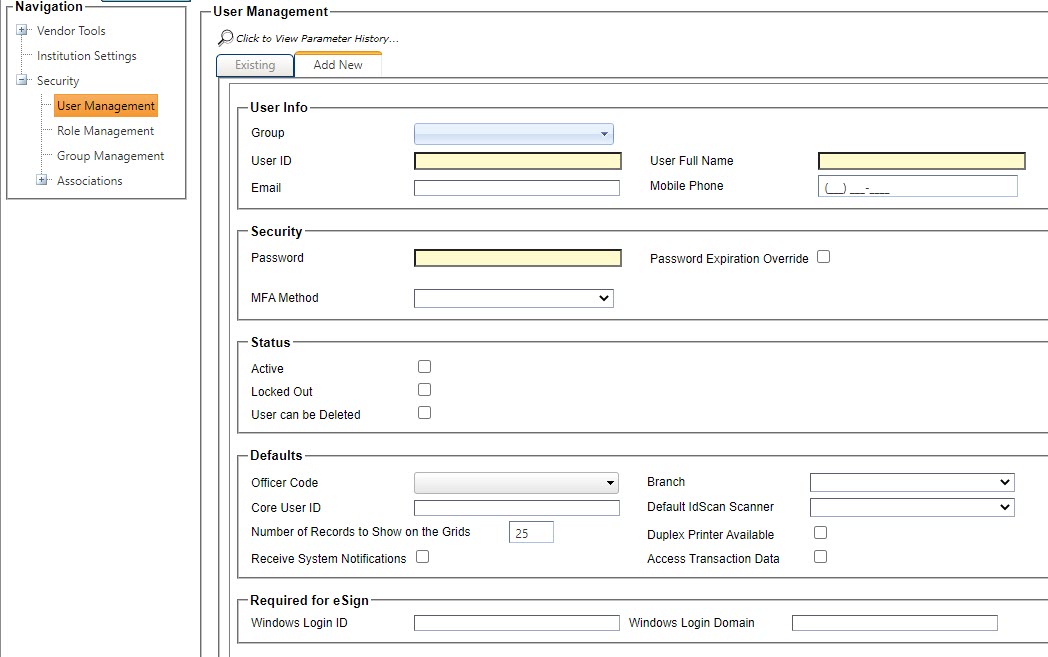
| Use the Add New tab |
- Select the Add New tab.
- Complete all fields.
|
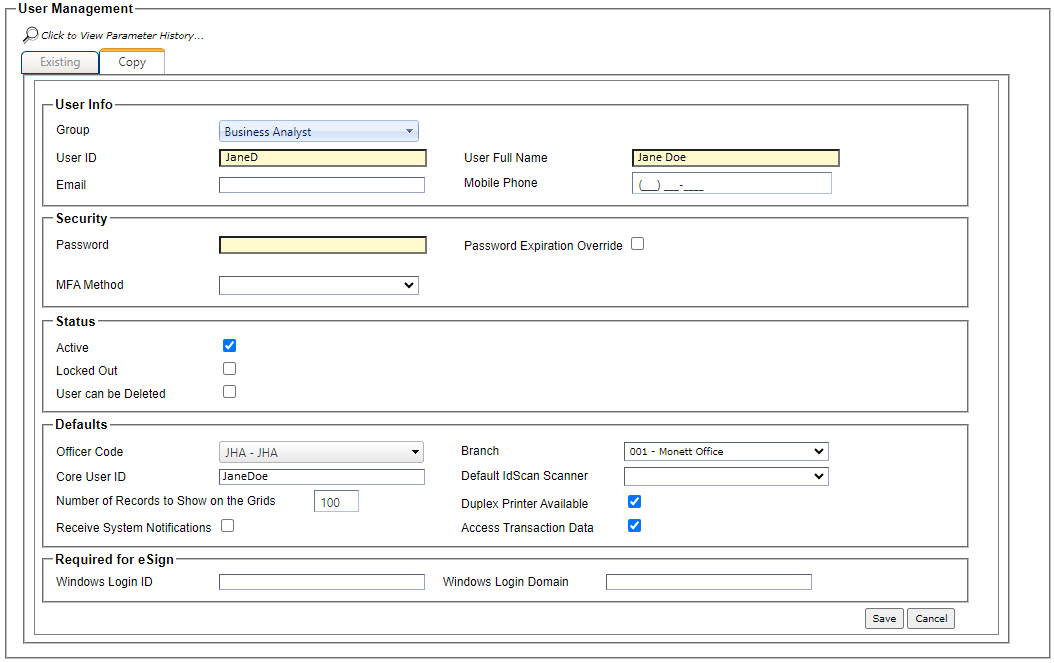
| Use the Copy function |
- Select
 Copy to open the
Copy tab and copy
the selected user's information. Copy to open the
Copy tab and copy
the selected user's information.
- Complete the User ID,
User Name, and
Password fields.
- Modify other fields, as needed.
|
Figure 1. Using the Add New Tab
Figure 2. Using the Copy Function
-
Refer to the following for entering
parameter information:
- Group
- The Group drop-down list is available on the Copy and Add New tabs. All the groups
listed on the Group Management tab appear in this list.
When copying a user, this drop-down list defaults with the Group selected for the
copied user. You can modify this default selection.
Note After the new user is set
up and saved on the Add New or Copy tab, any changes made to the Group assignment must be
made in the Users to
Group node.
- User ID
- It is recommended that the User ID match the core
system for consistency and for ease of use. However, it does not need to match the core
system.
- User Full Name
- Used for establishing a full name.
- Email
- Used for establishing an email address to work with Work Queues.
- Password
- The generic password is originally established by the administrator. The
first logon by a user prompts for changing the password.
Note Passwords must be at least
eight characters and include one numeric and one non-alphanumeric
character.
- Password Expiration Override
- When adding a user or editing user information, this option allows you to
override the main setting entered in the Number of Days for Password
Expiration field in . If the selected customer needs a different password expiration setting,
select Password Expiration
Override and enter the new value in the Number of Days for Password
Expiration field. This setting applies to the selected customer only.
- MFA Method
- This option allows users to select a multifactor authentication
method.
- Active
- Allows you to deactivate a user without deleting the user from the
system. For example, the option can be selected to deactivate a user who is on a short
term or extended leave of absence.
- Locked Out
- This box is selected when a user is locked out. An administrator must
clear the check box and reset the password to reactivate the user.
-
User can be
Deleted
- Allows you to delete a user when the user is not assigned to a group or
Work Queue.
- Officer Code
- Used to select an active officer from the drop-down menu. Selection of an
Officer Code is
optional. However, if it is defaulted, the selection carries through to the Characteristics node under
Loans In
Process, or the Contact Name field on a Notice of Action.
- Core User ID
- Used for establishing a cross-reference from the OnBoard User ID to the core system
User ID. Users
without a Core User
ID cannot do the following:
- Perform inquiries
- Perform recalls
- Refresh jXchange
- Validate core information
- Export the transaction
- Number of Records to Show on the Grids
- Allows the Administrator to define how many records appear on the larger
tables. This setting can be defined differently for each user. The field accepts a
maximum value of 100.
- Receive System Notifications
- This option allows a user to receive system updates by a selected means of
communication such as an email address or a mobile phone number.
- Branch
- Used to select a bank branch from the drop-down menu. Selection of a
branch is optional. However, if it is defaulted, the branch carries through to the
Characteristics section under Loans In Process.
- Number of Days for Password Expiration
- This field is only available when you select the Password Expiration
Override option. The value entered here overrides the main setting in
for the selected customer only.
- Duplex Printer Available
- Allows you to define whether the Duplex Printer Available
printing option is available to the user in Doc Manager under
Loans in
Process.
- Access Transaction Data
- This parameter is selected when instructed by OnBoard support.
- Windows Login Domain
- This field is provided by your institution's Information Technology (IT)
Department.
- Windows Login ID
- This field is provide by your institution's Information Technology (IT)
Department.
Note The User ID, User Full Name, Email, Core User ID, and
Password fields
are required when establishing the user login.
-
Select Save.
Select Cancel to return to
the User Management
screen.