Editing an Internal Document
Complete the following steps to modify an internal document.
-
Select .
The Documents screen appears.
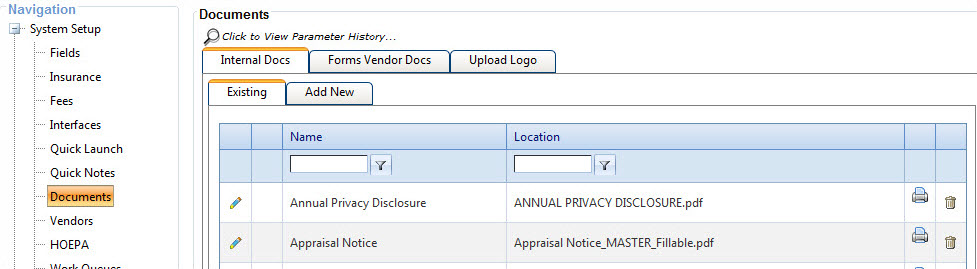
-
Select the
 Edit icon next to the
document to be edited.
The Edit tab opens.
Edit icon next to the
document to be edited.
The Edit tab opens.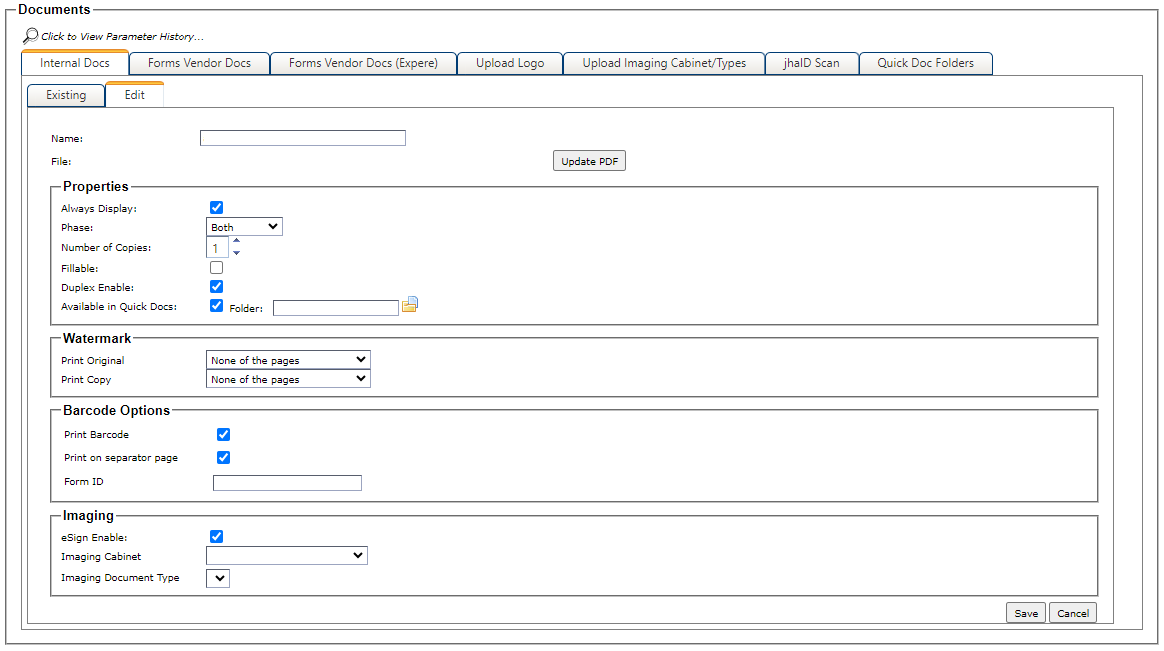
-
Use the following information to update additional
parameters as needed.
Properties
- Always Display
- Select this check box to link the document to all product types.
- Phase
- Allows you to determine at which phase a document appears in . The available options are Application, Closing, or Both. The field defaults to Both.
- Number of Copies
- Allows you to define how many copies of a document are generated in the Doc Manager node in Loans in Process.
- Fillable
- Select this check box only if the document is truly a fillable PDF. When
you upload a fillable PDF without selecting the Is Fillable option, the
system automatically selects the option so Doc Manager can recognize
the document as a fillable PDF.Tip When the Is Fillable option is selected, the
 Default option
is available for the document on the Internal
Documents tab. When you select Default, the PDF
document appears and allows you to enter information in the fillable areas. After you
enter the appropriate default information for the document, select Update to retain the
information for the Doc
Manager node.
Default option
is available for the document on the Internal
Documents tab. When you select Default, the PDF
document appears and allows you to enter information in the fillable areas. After you
enter the appropriate default information for the document, select Update to retain the
information for the Doc
Manager node. - Duplex Enable
- Allows you to define if the document can be duplex when printing. This option is available in Doc Manager when the user has access to the Duplex option, which is determined in .
- Available in Quick Docs
- Select this check box to display the document in the Quick Docs toolbar option.
Watermark
- Print Original
- Determines if the original watermark is printed on the document. The
setting in this field defines which pages contain the watermark.
- None of the pages
- Each page
- First page only
- All but first page
- Print Copy
- Determines if the COPY watermark is
printed on the document when multiple copies are printed. The setting in this field
defines which pages contain the watermark.
- None of the pages
- Each page
- First page only
- All but first page
Barcode Options
- Print Barcode
- The Print Barcode field is automatically selected for available documents if the Barcode Options section appears. You can clear the field if the barcode is unnecessary.
- Form ID
- This is a required, five-character field. For all standard WKFS documents,
both dynamic and static, if the barcode functionality is supported, this value is
hardcoded and cannot be modified.Note When printing the barcode on a document, the Form ID is used as the first field in the barcode. This is also used as the Form ID in Synergy when creating templates.Note This section only appears when the Print Barcode field is selected in .
Imaging
- eSign Enable
- Selecting this option allows the specific document to be available for eSign on the Doc Manager node.
- Imaging Cabinet
- Selecting this option determines the appropriate image cabinet.
- Imaging Document Type
- This option determines the type of image.